Filteredwaterguide.com is supported by readers. If you purchase through referral links on our site, we make a commission at no extra cost to you. Learn more.
Reverse Osmosis System Maintenance
If you own a reverse osmosis water purification system congrats! That’s because you not only own one of the best water purification systems made but it is one of the easiest to maintain also.
The one thing that you don’t want to do is mistake that last sentence for meaning that a reverse osmosis system is maintenance free.
Although I don’t consider taking care of a reverse osmosis system to be much work, there is still some periodic maintenance that has to be done to them.
That’s what I intend to go over with you here. I will discuss what reverse osmosis system maintenance steps need to be done and along what timeframes that work should be undertaken.
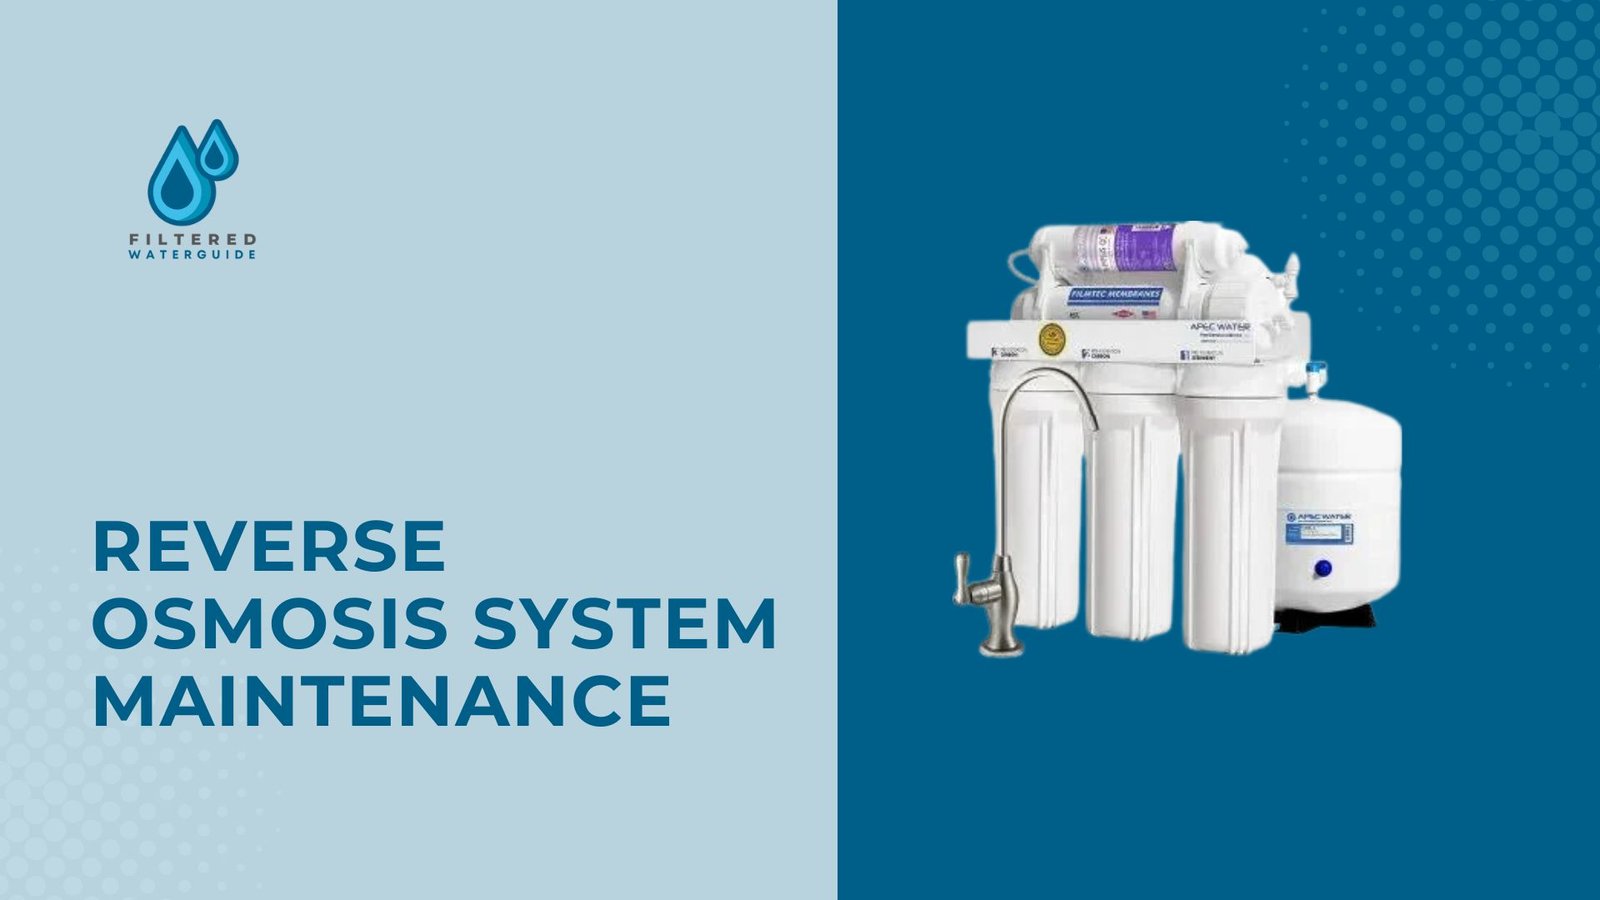
Taking the advice given here and performing these recommended maintenance tasks will help keep your reverse osmosis filtration system working efficiently and help it last a long time.
Also Check Out: Reverse Osmosis Cost Breakdown
How Long Does a Reverse Osmosis System Last?
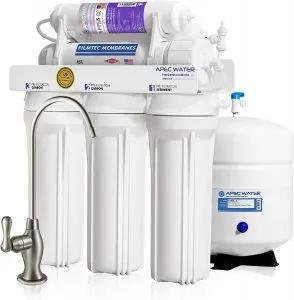
Here is the standard answer to this question with an asterisk. A quality reverse osmosis system should last you somewhere between 10 to 15 years.
The reason for this is there are no moving parts in these systems, they are not subjected to harsh chemicals, and their main components are replaceable filters and membranes.
Where does the asterisk come into play? It’s simple. Just like any other product, if you don’t keep them clean and maintained properly, they are subject to premature breakdown and the subsequent replacement that often goes along with that.
That’s why following the reverse osmosis system maintenance steps that I am about to go over is so very important.
Reverse Osmosis Maintenance Schedule
Even though the RO membrane in a reverse osmosis system does the heavy lifting as far as the water purification process goes, there are still many other key components to these systems that must be maintained.
You will very seldom see a reverse osmosis system that does not have at least three stages. These other two stages besides the RO membrane usually consist of a sediment pre-filter followed by another carbon pre-filter.
These other filters are there to keep larger contaminates from ever reaching the reverse osmosis membrane. That way the RO membrane does not get clogged up so quickly or have to work harder which will shorten its useful life.
Here are some of the typical time frames for performing different aspects of reverse osmosis system maintenance:
| Task | Every 3 to 6 Months | Every 6 to 12 Months | Annually | Every 3 to 5 Years | Every 5 Years |
|---|---|---|---|---|---|
| Replace Sediment Pre-Filter | XXX | ||||
| Replace Carbon Pre-Filter | XXX | ||||
| Replace Carbon Post Filter | XXX | ||||
| Replace RO Membrane | XXX | ||||
| System Cleaning | XXX | ||||
| Storage Tank Inspection, sanitization, and Pressure Check | XXX | ||||
| Storage Tank Replacement | XXX |
One thing that I can’t stress enough here is that this is a guideline to follow that works for most reverse osmosis systems.
With that being said, you should still always read your owner’s manual and follow your manufacturer’s recommendations for filter change time lines and when other maintenance steps need to be undertaken.
Be aware here too that some of the reasons that there are different recommendations by manufacturer’s as far as when is the best time to change a filter is because there are differences in filter qualities and sizes.
Basic RO maintenance tasks
Here are the main RO system maintenance tasks that you will need to perform according to the schedule in the above chart:
Filter Changes
There are usually three types of support filters that need to be periodically replaced in a reverse osmosis system. They include:
- 1. Sediment pre-filter: changed every 3 to 6 months
These catch dust, sediment, and rust particles that are in your incoming tap water.
- 2. Carbon pre-filter: changed every 6 to 12 months
This type of filter catches particles that are smaller in size than what the sediment filter can eliminate.
- 3. Carbon post filter: changed every 6 to 12 months
These give your tap water one final filtering before it goes into your RO system’s storage tank.

How to Replace Support Filters?
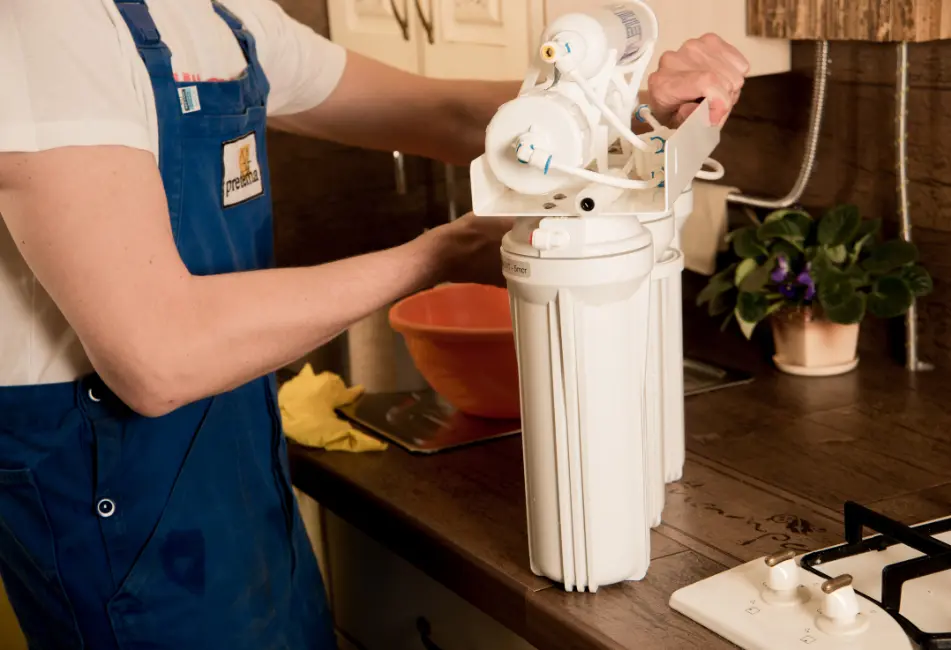
The lids for each filter canister will be permanently attached to the reverse osmosis unit. So, you will have to twist the canisters in a counter-clockwise direction until they come off.
Then simply take out the old filter and replace it with the new corresponding one. Some will snap into place and others just simply sit inside of the canister. Pay close attention when removing the old filter to know how to put the new one back in.
RO Membrane Replacement
As you have most likely noticed in the chart above, most manufacturers recommend changing the RO membranes in their systems once every 3 to 5 years.
There is one important point to note here. Although typically RO membranes only need to be replaced every 3 to 5 years, if you have hard to extremely hard water passing through your reverse osmosis system, the timeframe will shift to every 2 to 4-years.
This is because untreated hard water tends to overwork an RO system membrane. This also means it is likely to clog more quickly to a point where it’s unusable.
You can use a TDS meter to compare the TDS content that’s coming out of your regular faucet to the TDS content that’s coming out of your RO water supply faucet.
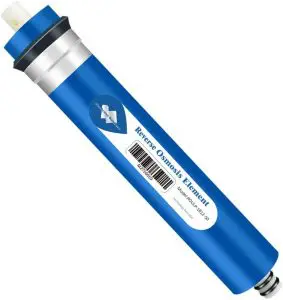
Typically, a reverse osmosis system catches 90% of the TDS found in tap water. So, the water coming out of your RO supplied faucet should have only about 10% of the TDS when compared to your regular faucet water’s TDS reading.
As an example, if your regular faucet water measures 500 ppm with the TDS meter, your RO supplied faucet water should only measure 50 ppm.
Readings where your RO supplied water measures 20% or more of your regular faucets TDS reading means it’s time to replace your reverse osmosis membrane.
How to Replace your RO membrane?
Here are the steps to follow to change out your reverse osmosis system’s membrane:
- First shut off the water to the system and open the RO supplied water faucet
- Shut off the RO storage tank feed line
- Disconnect the tubing going into the large end of the membrane housing
- Lift up the large end of the RO membrane cartridge where you just disconnected the water line and unscrew the cap
- Grab the exposed part of the old RO membrane with needle nose pliers and then twist and slide the membrane out
- Coat the O-rings at the top and bottom of the new reverse osmosis membrane with O-ring lubricant
- Insert the new RO membrane into position and reverse the process
Basic System Cleaning
There really is not much you can do as far as overall RO system cleaning. One thing I may suggest is using a light dishwashing liquid soap mix to clean any filter parts that are exposed when replacing them.
This includes contact points, housings, and any lids that you had to screw off to remove a filter.
Be sure to try and rinse this soap off before putting the new filter in and screwing on the lid.
Storage Tank Cleaning and Pressure Check
Your storage tank plays one of the most important roles in your reverse osmosis system. That’s because RO systems do not produce purified water on demand.
Since this is a process that takes a little bit of time, having a storage tank helps avoid having periods where you are not able to get purified water for drinking or cooking.
You must also be aware that your RO storage tank does not get filled entirely with purified water. Instead there is a bladder that’s inside of the tank and that’s why the tank needs to be pressurized.
Air pressure build-up in the tank around the bladder provides the force needed to push water out of the bladder and into your RO system’s faucet for dispensing.
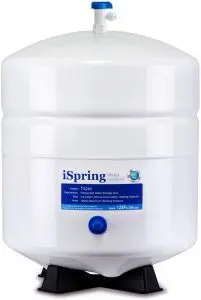
Do the following to your RO storage tank on a yearly basis:
1. Inspect the Storage Tank
Here you want to look for cracks in the tank or any signs of leakage; replace if necessary.
2. Drain the Storage Tank
This is pretty self-explanatory and you will easily recognize the valves on the tank that will enable you to do this. You can’t do the other maintenance steps with a full and pressurized storage tank.
3. Sanitize the tank
This is necessary to eliminate any slime buildup in your tank bladder, this can be done by filling the bladder with water and then adding a few ounces of a non-toxic disinfectant such as Aqua Shock Water Tank Sanitizer/Disinfectant.
Let the mix sit in the bladder water for 15 minutes and then rinse the bladder out several times before using.
4. Check Your Storage Tank Pressure
Here are the steps involved in checking your storage tank pressure when its empty:
- First, Close the valve heading into the top of the tank and disconnect the incoming tank line
- Open the cap at the bottom of the tank and expose the pressure valve
- Attach a low-pressure tester to the pressure valve, it should read between 5 to 10 PSI
- If it reads less than 5 PSI recharge the tank by using a bicycle tire pump
- Double check the tank pressure to verify it’s now in normal working range
It’s also recommended that you replace your reverse osmosis system’s storage tank every 5 years.
When to Get Help from a Professional
If it’s the case where you do not have the time or desire to do your routine RO system maintenance yourself, please don’t just neglect your system. Instead hire a plumber or handyman to come do the job for you.
Keep in mind also that you may have a problem before a scheduled maintenance step that forces you to do maintenance ahead of time or call a service technician for assistance.
This includes:
- A significant drop in system water pressure
- Experiencing changes in your tap water such as discoloration, bad taste, or foul odors
- Increased wastewater production
Wrapping Up Reverse Osmosis Maintenance
I am assuming that you bought a reverse osmosis filtration system to purify your tap water and, in turn, to help ensure your family drinks healthier water.
So why not take the little bit of time and effort that’s required to keep your RO system flowing properly and working efficiently. It will also help extend your reverse osmosis water purification system’s useful life.
At the very least, it won’t cost you much to hire a service professional to do the above-mentioned reverse osmosis maintenance steps for you.
So, be sure to take the time to put your periodic RO system maintenance tasks on your schedule and then make sure this work gets done when the time comes.
