Filteredwaterguide.com is supported by readers. If you purchase through referral links on our site, we make a commission at no extra cost to you. Learn more.
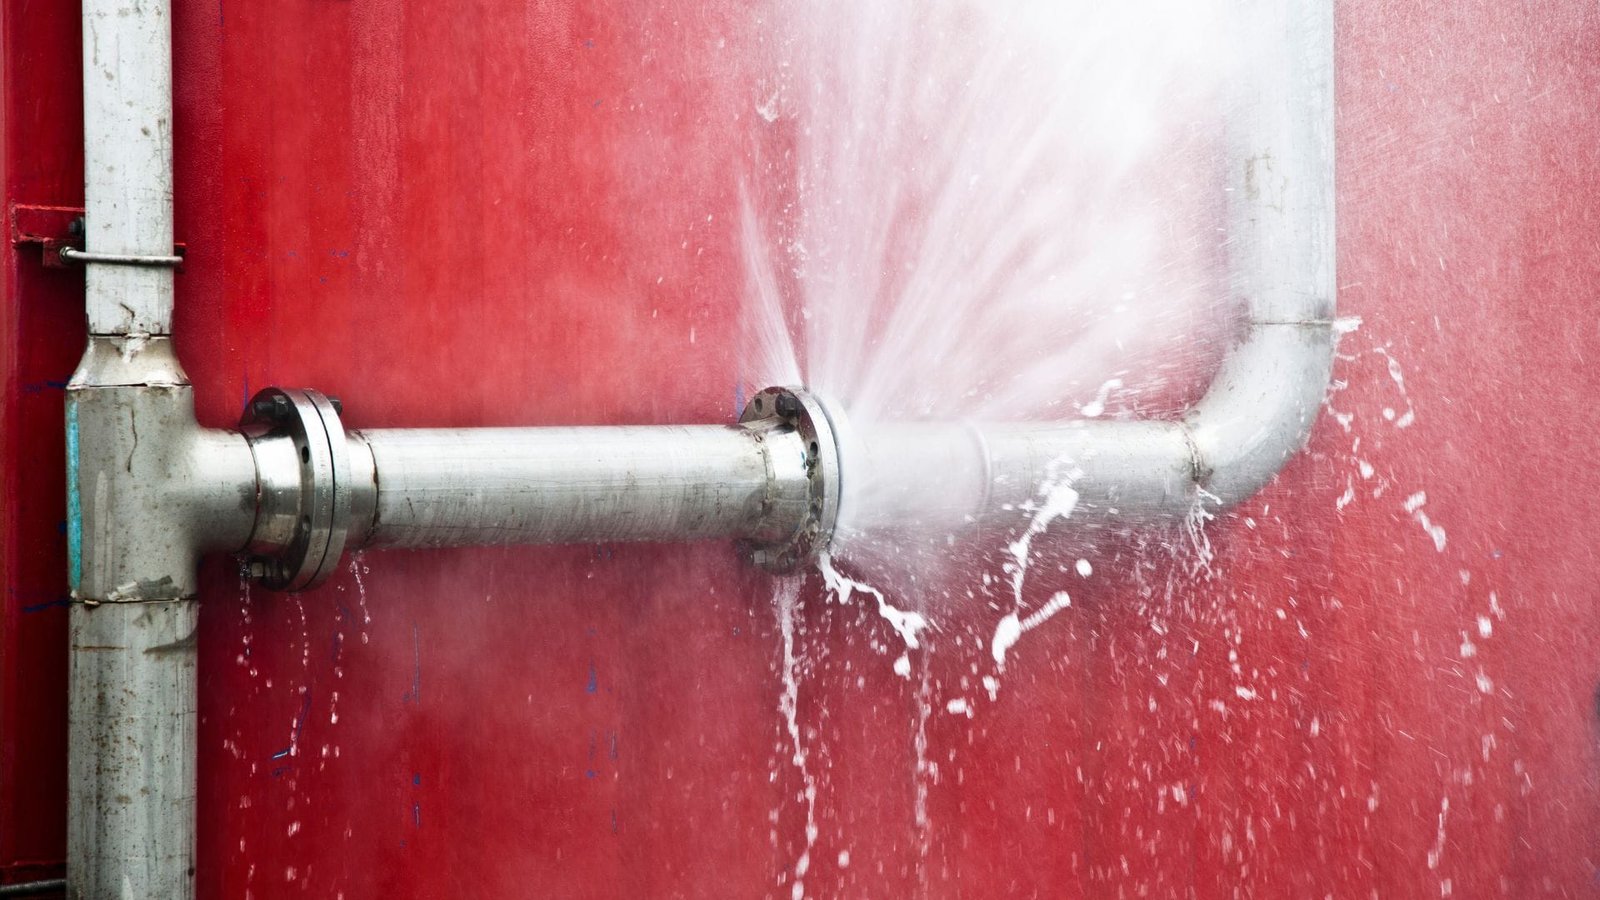
Walking into a flooded basement ranks high on every homeowner’s list of nightmares.
We’ve seen this scenario play out countless times during our plumbing inspections: a puzzled homeowner discovering their basement floor covered in water, immediately fearing the worst about broken pipes or drainage failures.
In many cases, we’ve identified a leaking water softener as the culprit.
Drawing from our decades of combined experience in plumbing and water treatment systems, we at the Filtered Water Guide team understand just how common water softener leaks can be.
Our comprehensive guide will walk you through the potential causes of water softener leaks, provide step-by-step DIY solutions, and help you identify when it’s time to call in a professional.
While water softeners use sophisticated ion-exchange technology to remove hard water minerals like calcium and magnesium, diagnosing and fixing leaks is often simpler than you might expect.
Also Check Out: Water Softener Maintenance Tips

Water and electricity create a dangerous combination, which is why our team always emphasizes safety before any water softener inspection.
Your first critical step is to disconnect the power supply to your water softener unit.
Locate and turn off the corresponding circuit breaker in your electrical panel that powers the water softener’s control head.
We cannot stress this enough: never step into any water puddles near your leaking water softener until you’ve confirmed the power is completely disconnected.
This safety protocol applies to all water-using appliances with electrical connections – including water heaters, washing machines, and whole-house water filtration systems. Ignoring these precautions can lead to serious injury or worse.
After ensuring electrical safety, the next crucial step is managing the water supply. In our installation experience, most professional plumbers incorporate a bypass valve when installing water softeners.
This bypass valve serves a vital purpose: it allows you to cut off water flow to the softener while maintaining water supply to your home. During diagnosis, you can safely toggle this valve on and off to help pinpoint the exact location of the leak.
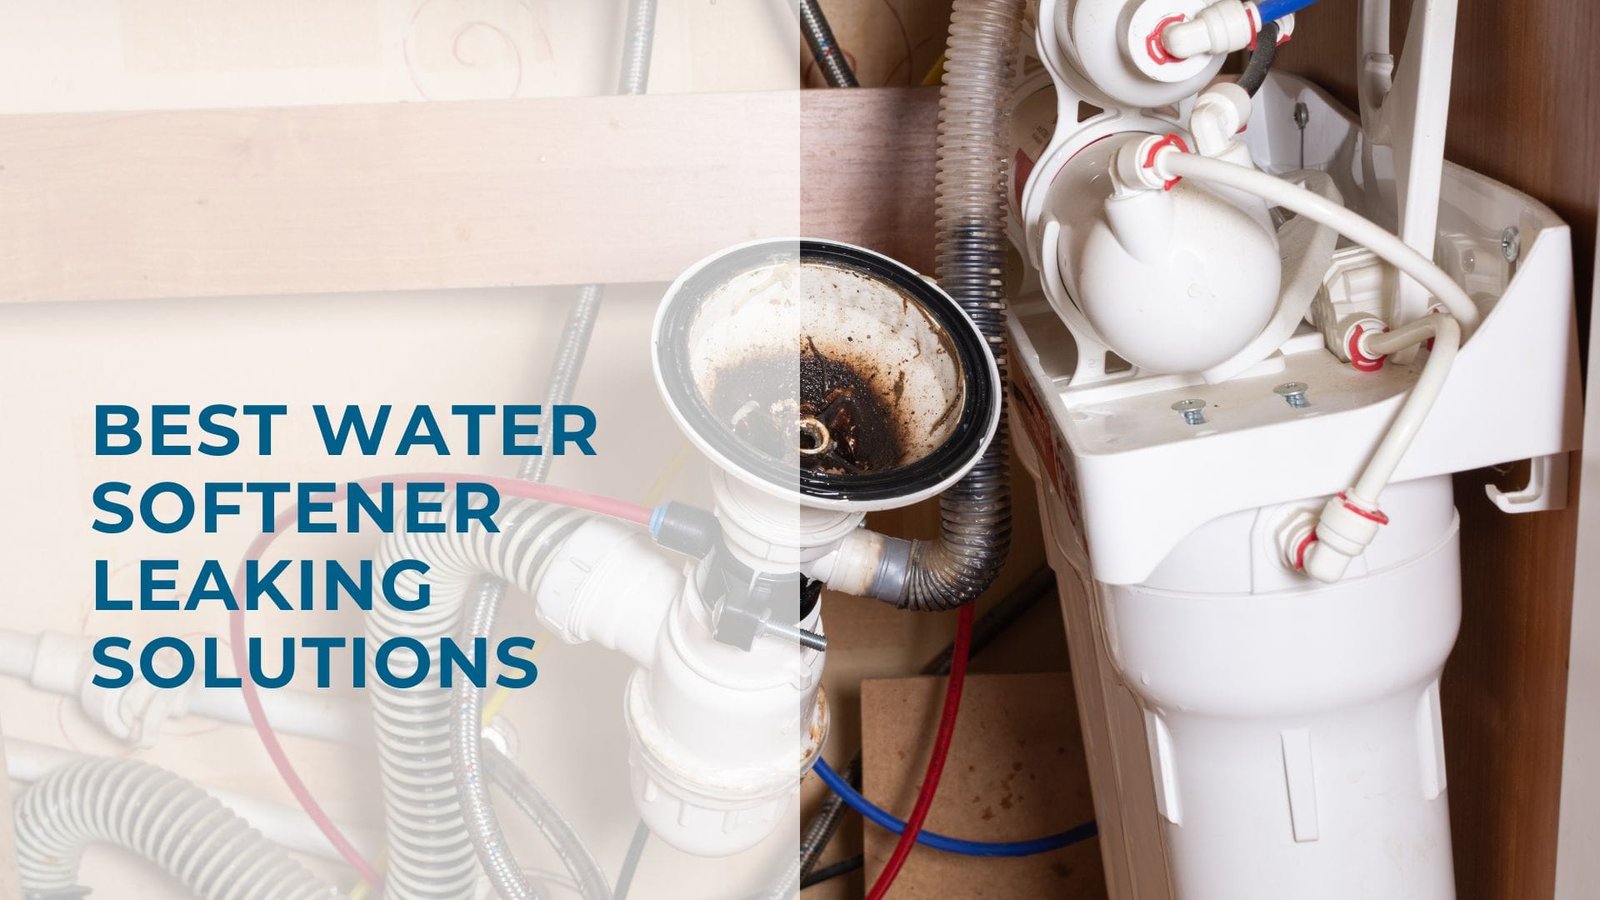
Through our extensive work with water softening systems, we’ve found that top leaks can originate from either of the system’s two main components.
The primary component is the resin tank (or main tank), which houses the crucial ion-exchange process that removes hard water minerals.
Next to it sits the brine tank, known as the brine tank, which creates the salt solution (using either sodium chloride or potassium chloride) necessary for regenerating the resin bed.
Our team has discovered that both tanks can develop leaks at their top sections, each with distinct causes and solutions.
Based on our extensive repair experience, we’ve identified several key reasons why resin tanks develop leaks at the top. Here’s what our team typically finds during inspections:
In our years of servicing water softeners, we’ve found that seal failure is the most common culprit behind top-of-tank leaks.
Just like any water-handling equipment, water softeners rely on rubber O-rings and seals to prevent leakage. These components naturally deteriorate over time, leading to compromised sealing and subsequent leaks.
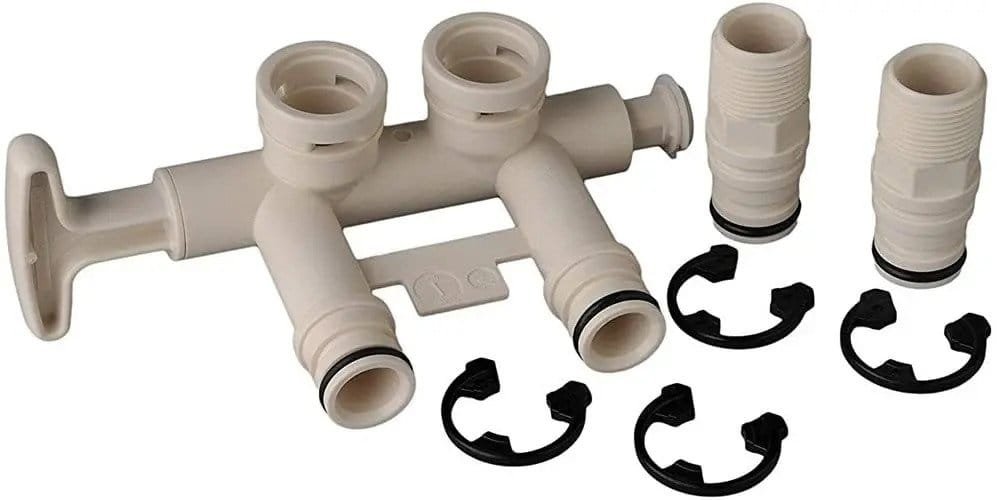
The bypass valve is particularly susceptible to seal wear due to the repeated friction it experiences during normal operation.
The good news? Manufacturers typically offer replacement seal kits that include new O-rings for both the bypass valve and other critical connection points.
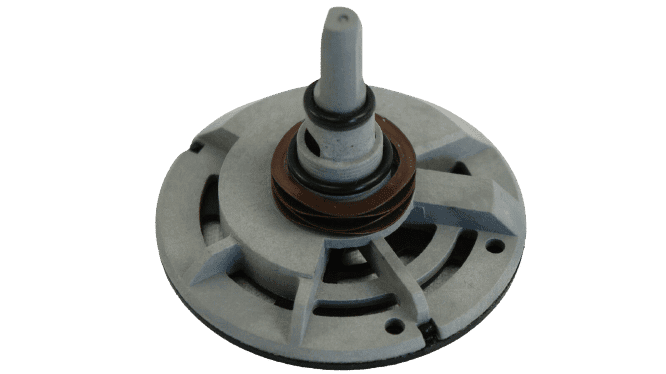
During our extensive testing and repair work, we’ve found that rotor valves are a common failure point in water softeners.
These components are constructed from heavy-duty plastic, but continuous use gradually wears down their structural integrity.
When cracks develop, you’ll typically notice water seeping from the main tank’s upper section.
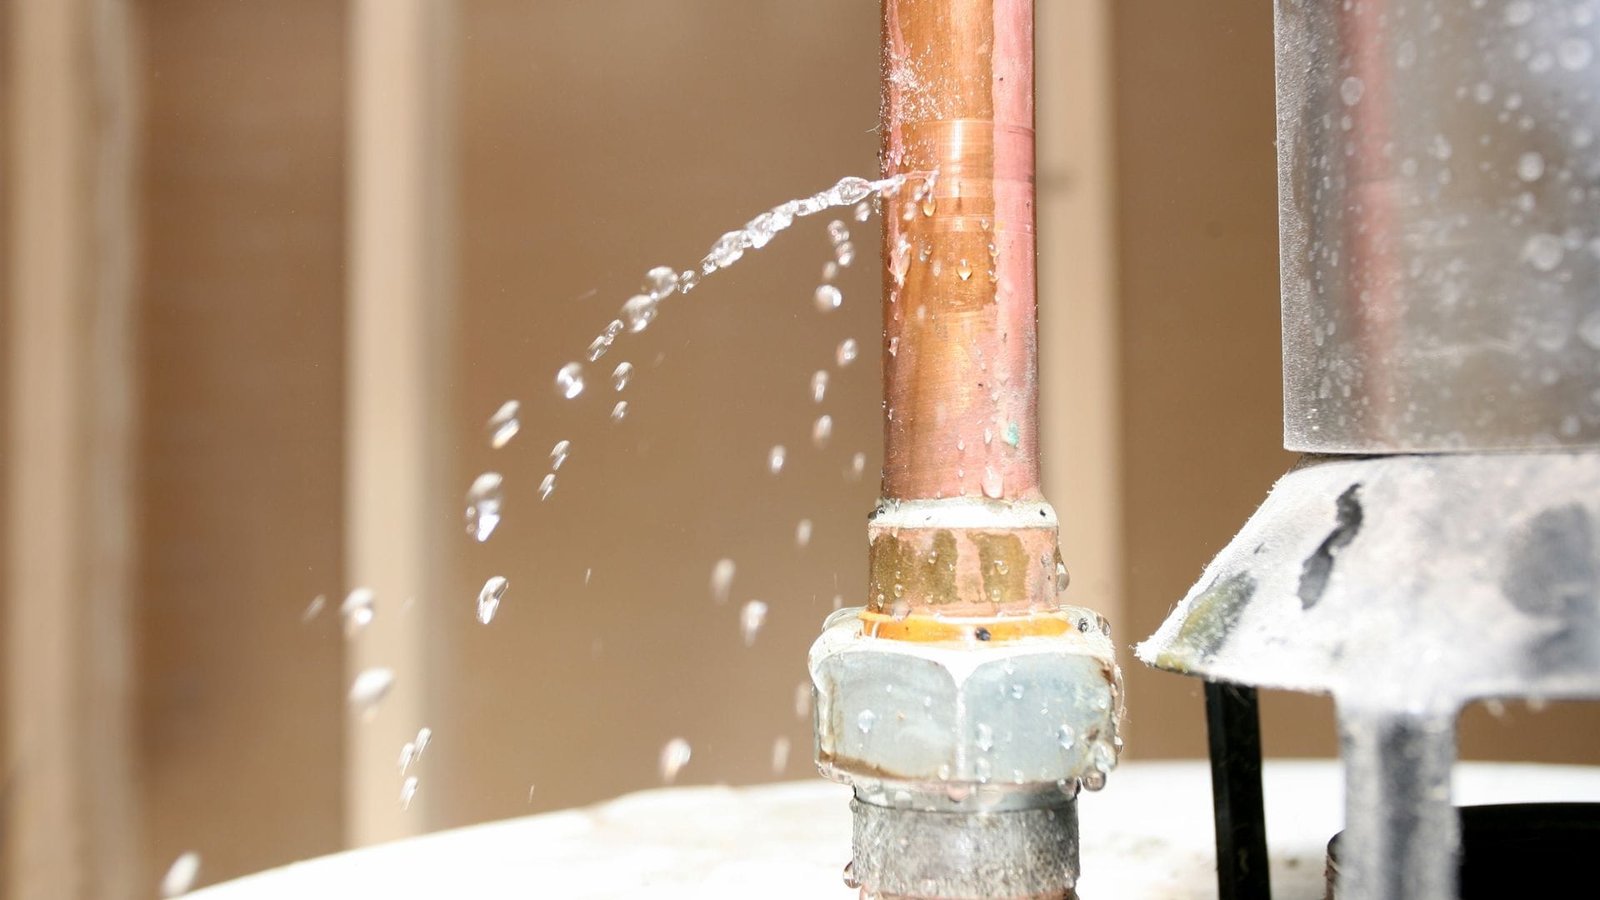
Based on our field experience, the plumbing system connecting your water softener requires special attention.
We regularly inspect two crucial pipes: the intake line carrying hard water to the main tank and the outflow pipe delivering softened water to your home.
Over time, we’ve noticed these connection points can deteriorate or work themselves loose, resulting in water leaks.
Through our years of troubleshooting water softener issues, we’ve learned that brine tank design is often misunderstood.
It’s important to note that brine tanks aren’t sealed units – they’re intentionally designed with an open top for regular salt replenishment.
Under normal operating conditions, the water level should never reach the tank’s upper section.
When we encounter overflowing brine tanks, several factors typically come into play:
Our maintenance team strongly emphasizes the importance of annual brine tank cleaning.
We recommend completely draining both salt and water from your system yearly – it’s a crucial step that many homeowners overlook.
In our repair visits, we’ve seen how skipping this maintenance often leads to problematic salt bridges and clumping, which can trigger tank overflow issues.
Through our extensive service experience, we’ve observed that proper drainage is critical for preventing overflow issues.
When drain lines become clogged, water has nowhere to go but up.
Regular salt tank cleaning is your best defense against water softener overflow leaks.
One of the most common issues we diagnose involves the brine tank’s float switch mechanism.
This essential component acts as a safeguard, preventing excess water from entering the tank.
When these switches fail, we often find the brine solution tank quickly reaches overflow conditions.
During our years of inspecting water softener issues, we’ve discovered that bottom leaks almost always point to structural damage in one of the two tanks.
The most common scenario we encounter is damage to the brine tank, as its walls are significantly thinner than those of the resin tank.
We strongly caution against using any sharp tools when removing salt buildup during cleaning – this is the leading cause of tank damage we see in our service calls.
Based on our professional assessment, some cracks or punctures can be repaired, depending on their size and location on the tank.
The heart of your water softener system includes a crucial connection that moves brine solution from the salt tank to the resin tank during the regeneration (cleaning) cycle.
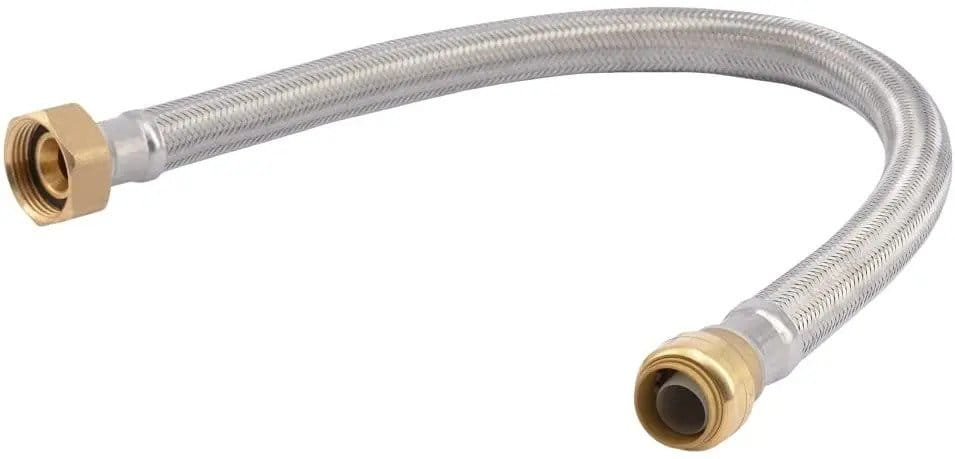
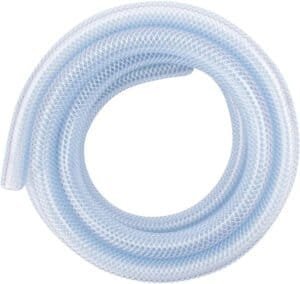
In our installations, we work with three main types of connection materials: rigid pipes, braided flex pipes, or rubber hoses.
These connections typically use one of three joining methods: glued fittings, quick-connect couplings, or hose clamps. Through our extensive repair experience, we’ve found that water softener leaks often stem from either compromised connections or deteriorated hose materials.
We frequently notice that hose leaks can be traced back to rushed or improperly executed installation work.
Similar to the brine-to-resin tank connections, drain lines come in various materials. Our maintenance records show that infrequent system use often leads to these lines becoming brittle and developing cracks.
We regularly find leaks where the drain line connects to the brine tank’s bottom section. Through our field experience, we’ve learned that drain piping requires extra care – even minor pressure from stepping on these lines can cause damage.
Our plumbing experts have found that water softeners older than 10 years often show significant performance decline.
We’ve seen countless cases where older units require increasingly frequent repairs, making replacement the smarter financial choice.
Based on our extensive testing, switching to a quality water softener offers impressive benefits: reduced water consumption, lower salt usage, and advanced features like smart regeneration scheduling.
Through years of hands-on experience, we’ve discovered that even tiny leaks spell trouble.
What starts as a small drip inevitably develops into a serious problem, potentially signaling deeper issues within your system.
We’re pleased to report that most leak repairs are manageable for homeowners with basic DIY skills and mechanical knowledge.
However, we always tell our readers: if you’re unsure about tackling repairs yourself, there’s absolutely no shame in calling a professional water treatment specialist.
Better to ensure the job’s done right than risk making the problem worse.