Filteredwaterguide.com is supported by readers. If you purchase through referral links on our site, we make a commission at no extra cost to you. Learn more.

Looking at those newly delivered boxes containing your water softening system?
We understand that moment of hesitation when reality sets in – now you need to install it.
Hard water problems have pushed you to this point, and as a dedicated DIY enthusiast, you’re ready to tackle this project head-on.
Here’s the good news: you’ve made the right choice.
Working with countless homeowners through our years of experience at Filtered Water Guide, we’ve discovered that water softener installation is a manageable project for anyone with basic DIY skills.
However, success lies in the details.
We’ve identified several crucial steps that require special attention during the installation process.
Let us guide you through this practical, step-by-step approach to installing your water softener correctly the first time.
Before you grab your tools and dive in, let’s cover the fundamental knowledge you’ll need for a successful installation.
Through our extensive experience working with homeowners, we’ve found that understanding three key areas makes all the difference.
First, you’ll need a solid grasp of how water softeners function.
Second, it’s crucial to understand your home’s water distribution system (what we in the industry call the “water loop”) – this includes knowing how water enters your home and reaches various fixtures and spigots.
Finally, you should be comfortable with basic plumbing skills, particularly soldering copper and metal pipe fittings.
If you’re confident in these areas, we’re certain you can handle this DIY project successfully.
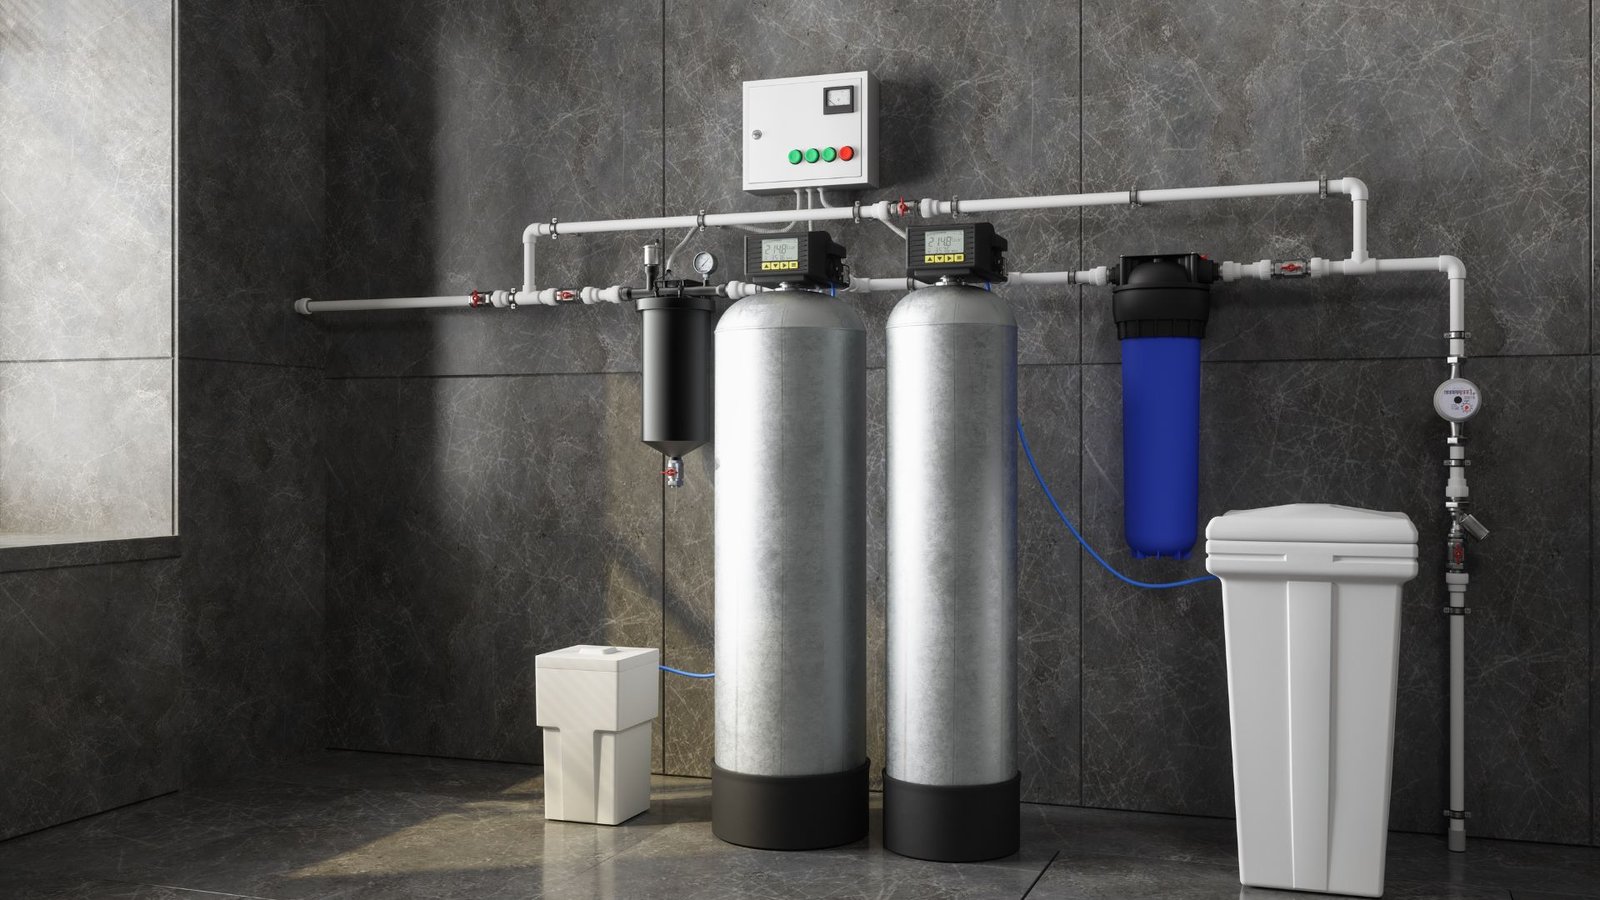
After years of installations, we’ve learned that understanding your home’s water loop is critical for proper water softener installation.
When water enters your home, the main line branches out to supply water to various points – your sinks, showers, outdoor spigots, and appliances.
Here’s what we’ve discovered is absolutely essential: the ideal setup separates your indoor and outdoor water supplies.
Why? Because softening water for outdoor use isn’t just wasteful – it’s potentially harmful.
Softened water contains salt that can damage your lawn and isn’t ideal for washing vehicles.
Plus, using your water softener’s resources on outdoor water is simply unnecessary.
If your home doesn’t have separate indoor and outdoor water loops, we strongly recommend either creating this separation yourself (if you have the necessary plumbing skills) or hiring a professional to make this modification.
This investment will significantly improve your water softener’s efficiency and protect your outdoor spaces.

Based on our extensive installation experience, we’ve refined the process into clear, manageable steps.
Here’s our proven approach to installing your water softener properly.
Our team has learned that success begins with careful planning.
We’ve found that choosing the right location is absolutely crucial – it affects every subsequent step of the installation process.
Start by identifying an ideal spot in your basement or garage that meets these essential criteria:
Pro tip: If you don’t have a nearby electrical outlet, make arrangements to have one installed before proceeding – your softener’s control system depends on it.
The location you choose will determine your plumbing supply needs, including:
Take time with this step – in our experience, thorough planning prevents most common installation problems.
Through numerous installations, we’ve compiled this comprehensive list of necessary tools and materials.
Required Tools:
Required Materials:
Important note: Every installation is unique. Your specific setup might not need all these items, and pipe sizes can vary. We recommend familiarizing yourself with your nearest hardware store’s location – our experience shows that even seasoned installers sometimes need an extra fitting or two during the process.
This critical step is often overlooked, but our team considers it essential.
Before proceeding, turn off your electric water heater at the breaker box.
Why? When you shut off the main water supply, your water heater could run dry – potentially damaging the heating element if left powered on.
Working with pressurized water lines is a recipe for trouble.
You’ll need to shut off your home’s main water supply before proceeding.
Look for the shutoff valve near where water enters your home.
Pro tip: If you can’t find an indoor valve, check for the main water box in your yard – it’s usually a plastic box set into the ground. We strongly recommend knowing its location for emergency situations.
With your water softener positioned on a stable, level surface, it’s time for initial assembly.
Focus on these key components:
Your installation manual should provide specific diagrams for these steps, but here’s what we’ve learned makes this process smoother: double-check all connections before proceeding to the next step.
Now comes a crucial step we’ve mastered through hundreds of installations.
With your water supply confirmed off, you’re ready to integrate the softener into your home’s water loop.
Here’s our proven method:
Pro tip: The connection type – whether clamps or solder – should be obvious based on your specific setup. If in doubt, consult your manual’s specifications.
The regeneration cycle is vital for your softener’s performance.
We’ve learned through experience that proper drainage setup makes all the difference in long-term system efficiency.
Your installation needs to include:

This simple but crucial step protects your home from potential flooding:
You’re almost there! Here’s our checklist for bringing your system online:
Important reminder: Don’t forget to add salt to your brine tank before testing the system.
Need a visual guide? We find that seeing the process in action can be incredibly helpful. Check out this YouTube video.
While we’ve provided a comprehensive overview of water softener installation, we can’t stress enough how important it is to read your manufacturer’s instructions carefully.
Our team always keeps the manual handy during installation – even after hundreds of successful installations – because each system has its unique specifications.
Through our years of experience, we’ve identified these common pitfalls that can compromise your water softener’s performance:

After reading through these installation steps, you’ve likely gotten a good sense of whether this project matches your skill level.
Here’s what our installation team wants you to know:
If you felt uncertain or overwhelmed by any of the steps we’ve outlined, it’s perfectly fine to seek professional help.
In fact, we often recommend consulting a licensed plumber or reaching out to someone with prior installation experience.
However, if you’ve followed along confidently and the process seems straightforward to you, you’re likely well-equipped to handle the installation yourself.
Smart compromise: Even if you’re confident in your DIY abilities, we strongly recommend professional help for two specific aspects:
Remember: There’s absolutely no shame in starting the installation yourself and then deciding to bring in a professional to complete it.
We’ve seen many successful installations that combined DIY effort with professional expertise where needed.
The key is making choices that ensure your water softener works safely and effectively for years to come.
After helping countless homeowners with their water softener installations, we’ve come to understand what truly matters in this process.
Whether you tackle this project yourself or bring in a professional, you’ve already made the most important decision – choosing to address your hard water problems.
Think about it: no more battling stubborn limescale on your fixtures, replacing damaged water heater elements, dealing with clogged showerheads, or facing other hard water headaches.
The bottom line: Your decision to install a water softener marks the beginning of better water quality in your home.
The installation method you choose is simply the path to get there.